
I love to read, so making my own pressed flower bookmarks has always been one of my favourite autumn crafts.
They’re easy to make, inexpensive, and there’s something lovely about preserving a little piece of nature between the pages of a book.
I’ve found they’re especially enjoyable for loved ones with dementia because they’re small, manageable, and full of colour. You don’t need much equipment, and the end result is something practical that you can use every day
The results can be surprisingly beautiful. Every flower and petal presses differently, so no two bookmarks will ever look the same.
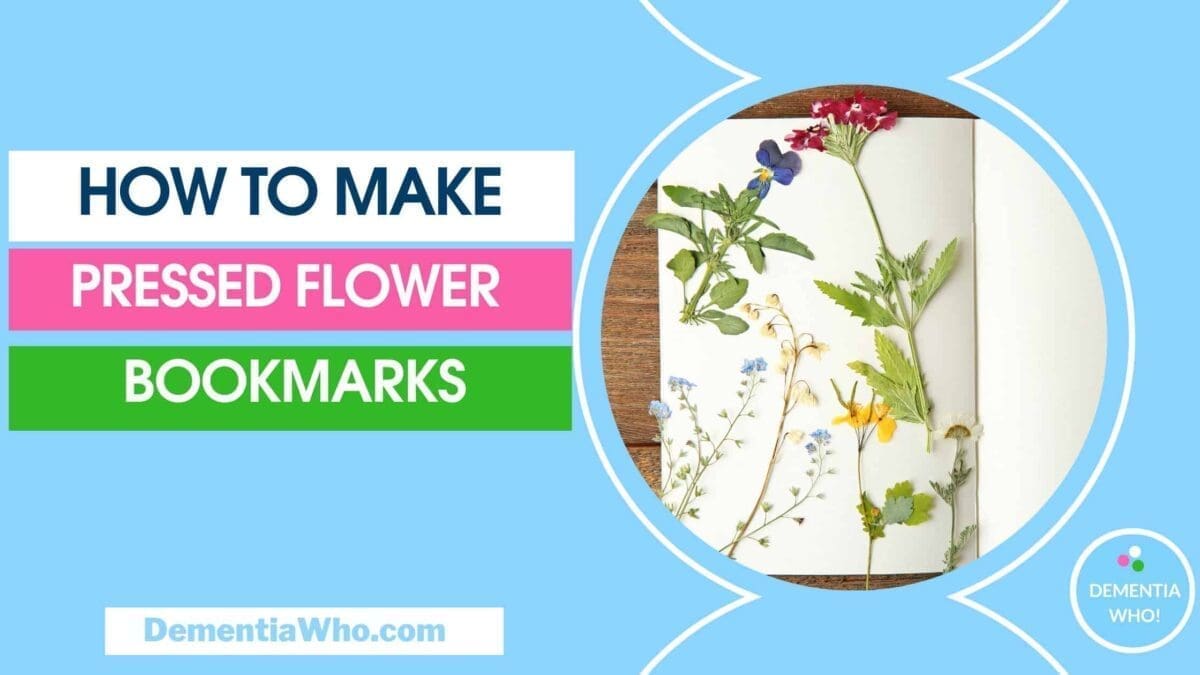
Learn how to make pressed flower bookmarks with this easy step-by-step guide. A mindful autumn craft perfect for adults and dementia-friendly activities.
You’ll Need
- Fresh flowers or small leaves (flat ones work best)
- Heavy books or a flower press
- Plain paper or parchment paper
- Cardstock or watercolour paper for the bookmark base
- Clear contact paper or laminating pouches
- Scissors
- Ribbon or twine (optional)
- Hole punch (optional)
- PVA glue or double-sided tape
Step 1: Choosing Your Flowers
I like to take a short walk and gather flowers that are naturally small and flat. Violas, daisies, pansies and fern leaves work beautifully. Or you can use fresh cut flowers from the shop that are coming to the end of life. If you’re with someone with dementia, it’s a great opportunity to get out of the home and talk about the colours and shapes as you collect them.
You can also buy packs of pre-pressed flowers if collecting isn’t possible.
Step 2: Pressing the Flowers
If you already have a flower press you’re halfway there. If not, heavy books and paper will do just fine. Lay the flowers between sheets of plain paper/baking or wax paper, then press under weight for one to two weeks.
I prefer a flower press because it keeps everything neat and speeds up the process. It’s also less likely to bruise the petals.
You can find small wooden flower press that can make this step quicker and easier on Amazon.
Step 3: Preparing the Pressed Flower Bookmark Base
I cut bookmark sized strips from sturdy card or watercolour paper. Standard size is around 5 cm by 15 cm, but you can make them wider if you want more room for your design. White or cream backgrounds make the flowers stand out. If you want a more colourful look, try soft pastel shades.
I keep my card in a small tray so I don’t lose pieces between sessions, especially helpful if someone is helping who likes things tidy.
You can also purchase packs of pre cut blank bookmarks if you want to skip cutting. See options on Amazon.
Step 4: Arranging the Flowers
This is my favourite part, when your flowers are ready, gently lift them with tweezers if they feel delicate. I lay them out on the bookmark card until I’m happy with the design. I glue them down gently. Avoid using too much glue, as it can seep through and darken the petals.. You can keep the design simple with just one flower or make a pattern from different petals.
Step 5: Sealing the Design
I use self adhesive laminate sheets or clear contact film to seal the flowers in place. This keeps them flat, protects them from moisture and makes the bookmark more durable.
A laminator works well if you have one, just place the bookmark in a pouch and run it through. If you don’t have one, cover both sides with clear contact paper and press firmly to remove air bubbles.
Trim neatly around the edges so there’s no excess plastic. This keeps them flat, protects them from moisture and makes the bookmark more durable.
You can buy packs of self adhesive laminating sheets which are inexpensive and easy to use.
Step 6: Adding a Finishing Touch
I punch a small hole at the top of the bookmark and add a ribbon or twine. It’s a small thing, but it makes the bookmark feel like a finished gift.
If I’m giving it to someone, I’ll choose a ribbon in their favourite colour.
You can buy mixed ribbon packs to match any design.
Tips for Best Results For Making Pressed Flower Bookmarks
Avoid thick or bulky flowers as they don’t press well
Keep colours light and bright, as darker petals can fade faster
If you’re making several at once, store them flat while drying so they don’t curl
Make extras, they’re lovely as thoughtful, handmade gifts
Try This Variation
Make seasonal sets, spring pastels, summer brights, autumn leaves, and gift them as a pack. You could also use herbs like lavender or mint for a scented bookmark.
If you enjoyed this, you might also like Leaf Pressing Art, No Sew Crafts for Dementia or Painted Wooden Coasters for other calming, creative activities you can do at home.
And that’s it, my simple ‘how to’ for making pressed flower bookmarks and all of it can be done as a mindful activity alone, with friends or with loved ones with dementia. Just enjoy it, some flowers come out so beautifully, especially the smaller ones.