
How do you find crafts to do when even holding a pen can be hard?
When I set up craft projects for Mum, I realised many standard ideas just weren’t practical anymore. Gripping tools and fine movements were a struggle, so I had to rethink. The only way forward was swapping fiddly tools for ones that used bigger movements or gave extra support.
Here are five simple craft ideas for people with limited fine motor skills, all of which I tried with Mum and found could be adapted to make the process easier and more enjoyable. These ideas also work well if someone has limited dexterity or hand strength.
This post may contain affiliate links. If you buy through them, I may earn a small commission at no extra cost to you. See our Privacy Policy for details.

Brush and Roller Painting
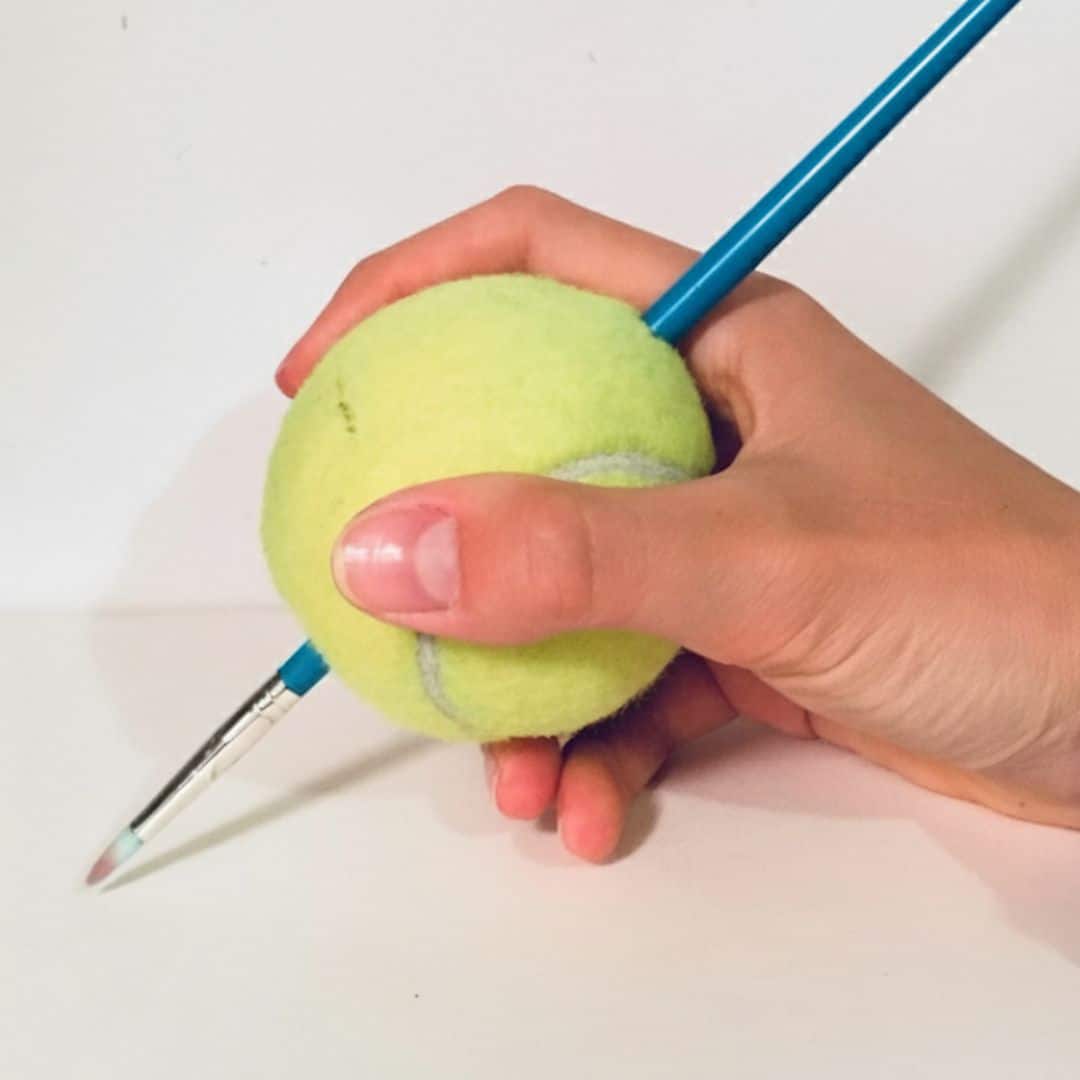
When brushes were too difficult to hold, I exchanged them with rollers, sponges, or paint dabbers or adapted them with foam insulation, tennis balls with holes in them or speciality grips that you can buy to hold brushes.
A good example for us was the activity of creating our patterned wrapping paper. I spread a sheet of plain brown parcel paper on the table and taped it to the surface at the corners so that it wouldn’t slide. Instead of brushes, I offered Mum a small sponge block with a handle to paint to dip into paint poured into bowls.
Make Your Own Wrapping Paper or Drawer Liners.
- Spread plain brown parcel paper across a table and tape down the corners so it doesn’t move.
- Pour two or three colours of paint into wide bowls so they’re easy to dip into. Use seasonal colour if you’re making Xmas paper like red or green.
- Use a sponge, roller, or dabber with a handle that’s easy to grip.
- Start painting by pressing into the paint and then onto the paper, building up big blocks or shapes of colour.
- Add layers by using different colours or overlapping prints.
- Leave flat to dry, then cut into smaller pieces for wrapping gifts or to use as lining drawers.
So easy to do together and you end up with a unique piece of art that can wrap your gift with or become a cheaper alternative to draw liners (you can even spray them with lavender spray to make scented liners!)
Collage With Big Pieces
Making a collage was another easy activity you could do even when you have movement difficulties. I saved old magazines (even the free ones from supermarkets!), fabric scraps, and coloured paper so we had a pile of materials ready.
Mum would find and tear out pages that were appealing to her, or if she had difficulties I would help her by tearing out what she liked that then we used to create art.
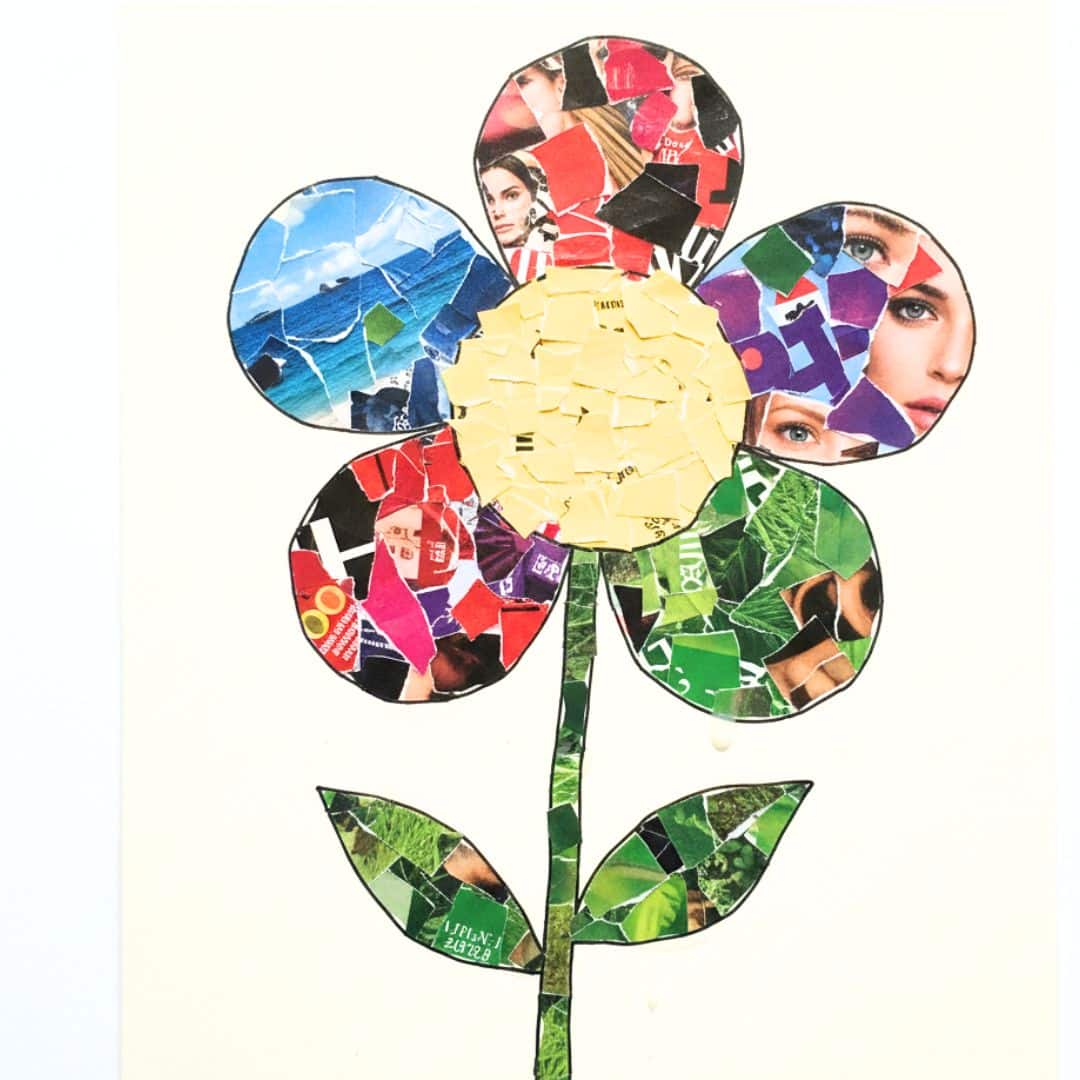
One afternoon we made a simple flower garden scene. I drew a rough outline on a card of a circle flower with big petals. Mum helped me tear out coloured pages from the magazine and used them as petals. She pressed them down and glued into place. You can create any design you wish, draw the shape or print it out, or even trace out a shape.
Make a Magazine Collage Flower
- Gather old magazines, fabric scraps, or colourful paper.
- Tear out pages with strong colours or interesting textures.
- Draw a large, simple flower outline on a piece of card (a big circle with wide petals).
- Spread glue across one petal at a time using a brush or glue stick
- Place torn pieces over the petal, overlapping until it’s filled.
- Repeat until the whole flower is covered, then add a circle of colour in the centre.
- Leave to dry and display on a wall or fridge.
Nature Activities
Going outdoors to gather materials is good for your mental health and if you can pick up things like pinecones or leaves, they can be directly used in arts and crafts. In our case when mum was in a wheel chair, she pointed out the ones she liked and I did all the bending!
Having those materials available was what we needed to sit down later and create something with them.
One of the easiest activities we did was making painted pinecones. You could also use pinecones to roll-in clay to add textures.
Painted Pinecones
- Collect a few pinecones, wipe them clean (bugs!) and let them dry out at home before using.
- Lay down newspaper or a tray to keep the table clean.
- Pour coloured paint (such as green or white) into a bowl.
- Hold the pinecone by the base and dip or press the edges into the paint.
- You can also use foam brushes to dab the paint on them.
- If you can’t hold them, tie gardening wire around the bottom layer of the pine cone, twist it to tie off, and then clip a peg on the end of the wire and hold it that way. (you can even put your peg inside a foam roller to make an even better grip)
- Whilst the paint is still wet, shake different types of glitter onto them for different designs.
- Using beads was too fiddly for us but if you are able to, you could glue beads
- Leave them to dry upright in a cup or on a tray.
- Place the finished pine cones into small terracotta pot
- Tie a ribbon around them if you want to display them, or group several together in a bowl.
This is the closest video that I could find to show how you can paint them but obviously the beading and holding the pine cone will depend on your loved ones capabilities
Baking And Decorating
Baking often gave us an easy way to be creative together. One of our favourites was just decorating plain biscuits or plain cupcakes. I bought a packet from the shop so that made life easier and then we decorated them together and of course ate a lot of the icing during the creation process!
Mum enjoyed squeezing the icing tubes and pressing down small sweets. But you may have limited hand strength so we can also adapt them to make it easier.
Easy Biscuit Decorating With Limited Hand Strength
- Lay out plain biscuits on a tray to capture any mess
- Use a squeezy bottle with a larger nozzle instead of shop icing tubes. You can thin icing with a little water so it flows with less pressure. The bottle can be gently squeezed with the whole hand or even pressed against the table for leverage. You can help steady the bottle while your loved one presses to ‘pipe’ lines or circles onto the biscuits.
- Try a dipping method: spread a thin layer of icing on a plate and press the biscuit face-down into it for an easy “frosted” top. From there, you can use edible sprinkles to decorate or press on chocolate button etc
- Use brushes or spatulas: icing can be painted or spread rather than piped. A small pastry brush (you can add foam or tennis ball to the handle for grip) or silicone spatula all of which need far less finger strength. Then just spread the icing on and add any decorations you love.
String and Wool/Yarn Art
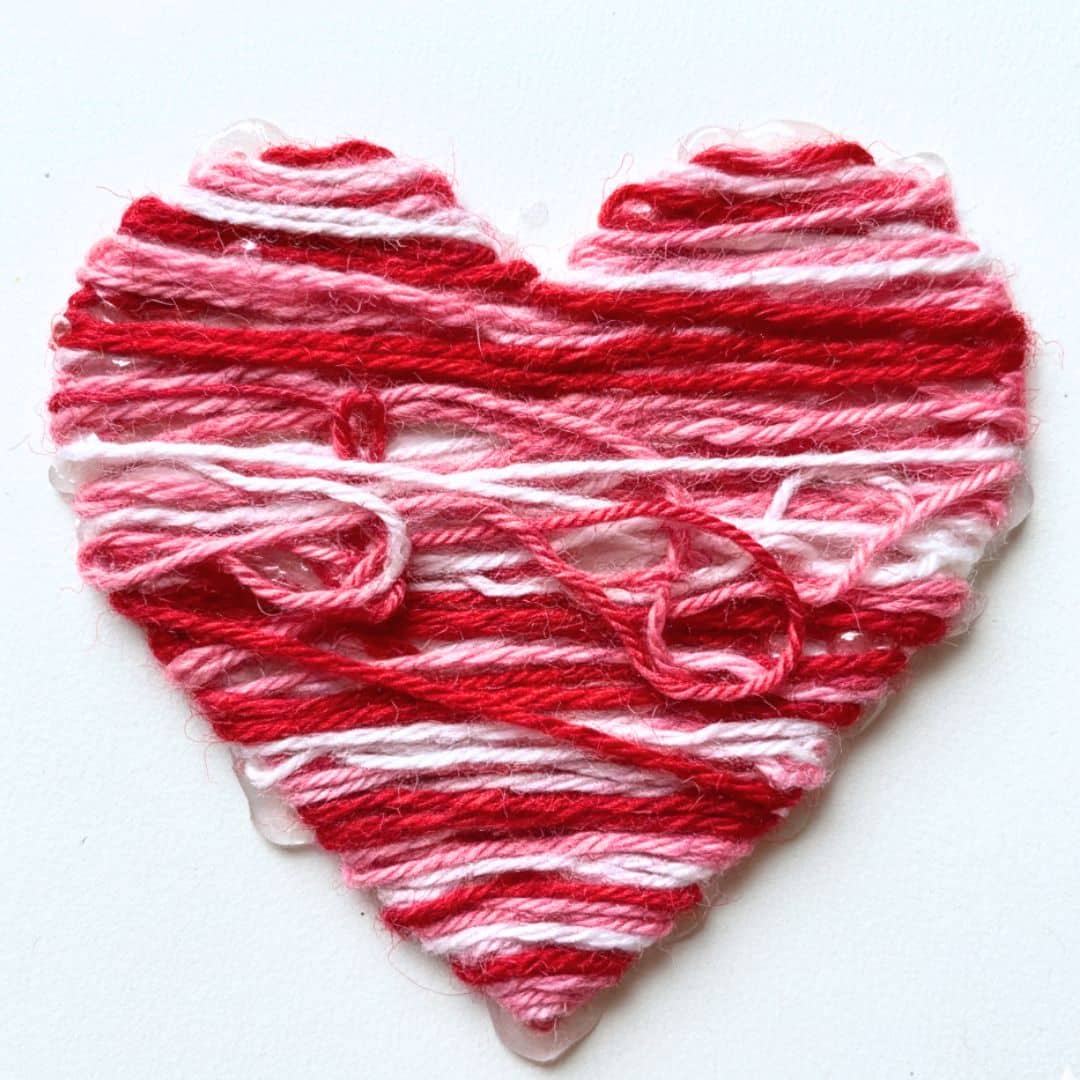
Winding or threading can be too fiddly, but wool or yarn can be really colourful and tactile. Instead of sewing or knitting, try using glue and thick cards to make simple yarn pictures. The finished piece will have a textured, almost 3D look. You can use thicker wool types to make it easier to handle or just use fabric scraps that may be easier to handle with limited dexterity.
Make a Wool/Yarn Heart
- Cut a large piece of sturdy card.
- Draw a simple shape such as a heart, star, or circle.
- Cut yarn or wool into short lengths, about 5–10 cm each.
- Spread glue inside the outline using a spatula or brush.
- Press yarn pieces into the glue, overlapping colours to cover the space.
- Leave to dry flat before displaying.
Looking Back
What I found with these crafts was that small changes made all the difference. Swapping brushes for sponges, scissors for tearing, or glue for sewing meant Mum could still do a lot of fun crafts with me.
It was about finding ways that made it possible and enjoyable for mum. I hope these ideas give you the same starting point I needed