
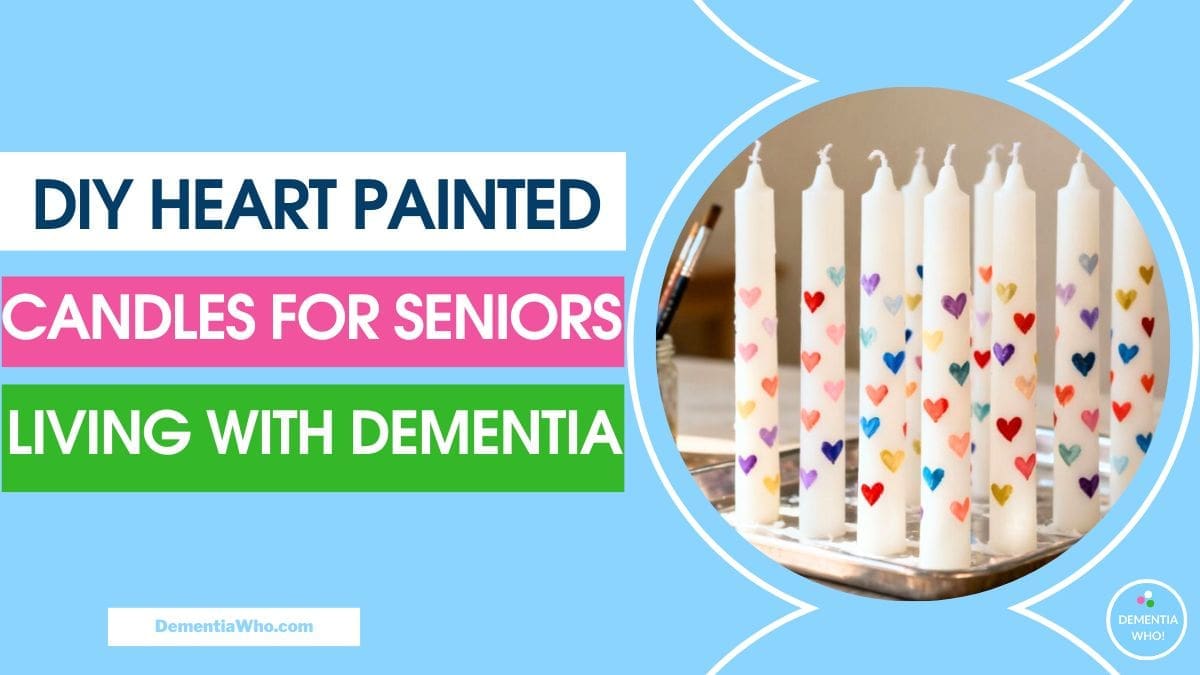
Making DIY heart painted candles is an enjoyable activity for caregivers and seniors, and those living with dementia. The craft allows for creativity and results in a lovely home decoration. You’re decorating wax with wax, which means the finished candles are safe to use and there’s no worry about fumes or added coatings.
This article is a step by step guide for making DIY heart painted candles for seniors. If you want try other diy projects take a look at DIY crafts for seniors and dementia for ideas.
The wax sets quickly, so you can see what you’ve done straight away, (that’s a curse and a blessing!). Each candle turns out a little different, which takes the focus off precision, just do what you can.
This post may contain affiliate links. If you buy through them, I may earn a small commission at no extra cost to you. See our Privacy Policy for details.
Materials You’ll Need
- Plain candles in white or cream (see variations for sizes)
- Coloured tealight candles or wax crayons
- Small paintbrushes
- Tealight holders or heat-safe dishes or foil
- Wax burner
- Paper towels
- Matches or a lighter
- Newspaper or a plastic table covering
Method
Step 1: Set up the table
Cover the table to protect the surface. Lay everything out so it’s easy to reach without having to move things around once you start. If you’re using tealights place them in holders with enough space between them to work comfortably. Alternatively you can break of pieces of wax crayons into foil.
Step 2: Melt the wax
Light the coloured tealights and let them burn for a few minutes (under supervision) until a small pool of melted wax forms. This melted wax becomes your paint.
If scented tealights are too much for you, you can use wax crayons and a wax burner with a candle lit in the bottom, just place a piece of a wax crayon in foil at the top and wait for it to melt. This gives you a wider colour palette and the melted crayon wax works exactly the same way.
Step 3: Paint the candle
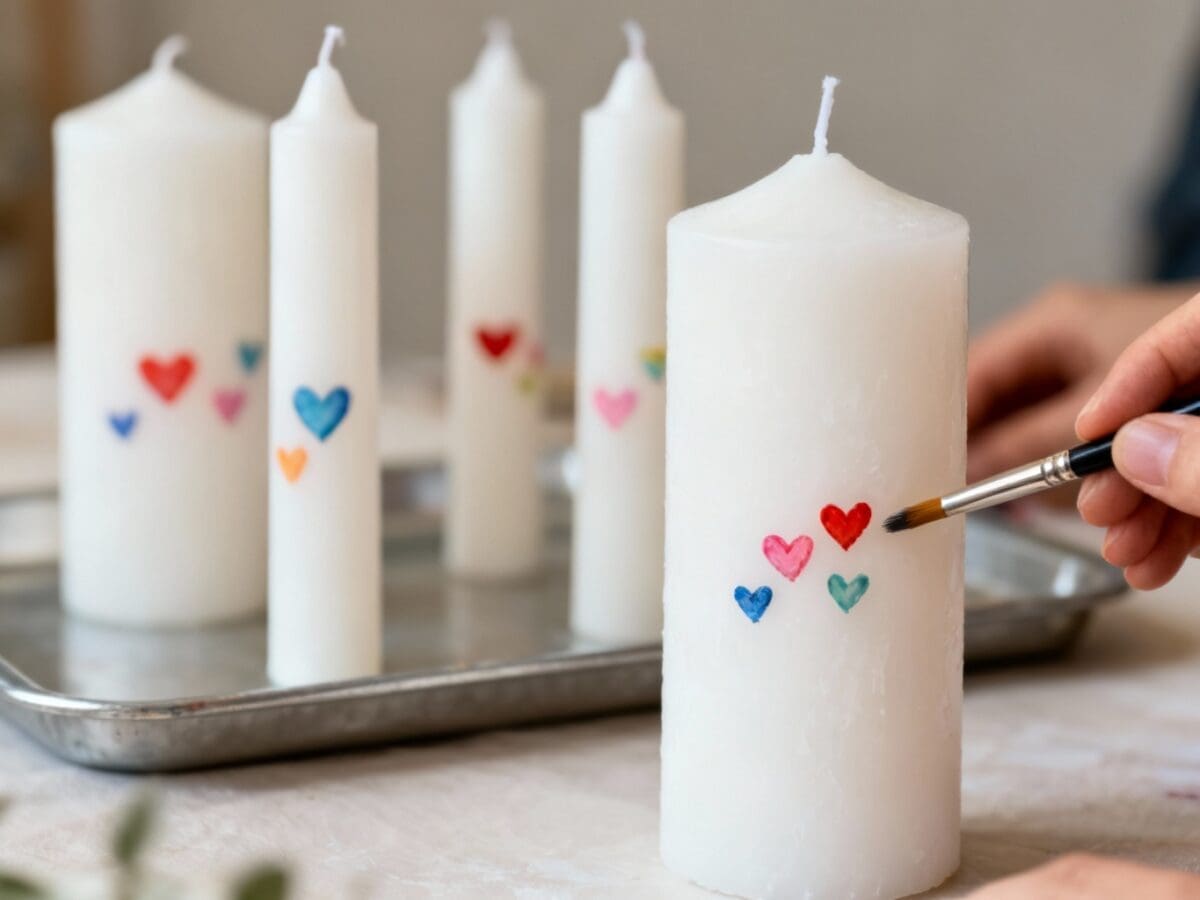
Dip the brush into the melted wax, (staying clear of the flame if using tealights or blow it out after it’s melted and place it on top of a wax burner). The wax will stay melted thanks to the heat from the wax burner.
The hard part is applying the paint to the candle, honestly, it won’t be as easy as you think. The wax hardens almost immediately, which makes it harder to make shapes with, but persevere, the candle burner will help keep it molten. The other thing is to only use one colour at a time, so that your wax doesn’t cool (unless you’re using lit tealights under supervision) Small heart shapes work well, but there’s no need to plan them out. A few simple strokes are enough.
Step 4: Add more colour
Wipe the brush on a paper towel before switching colours. You can add hearts evenly across the candle or work your way around in sections. If the wax starts to feel too stiff either light the candle or put it on the wax burner.
Step 5: Let it set
Once you’re happy with the candle, set it aside for a few minutes. The wax will already be firm, but giving it a little time helps everything settle before handling it again.
Step 6: Tidy up
Wipe brushes while the wax is still soft. Blow out the tealights, candle burner, and leave them to cool before moving them, and dispose of melted wax foil pieces. Any small drips can be left as they are or gently smoothed over with another layer of wax.
If Something Goes Wrong
If a heart doesn’t look how you expected, you can add more paint over or scrape the cooled wax off and start again. This is one of those crafts where adjusting as you go works better than trying to fix everything at once. It doesn’t have to be perfect
A Few Simple Variations
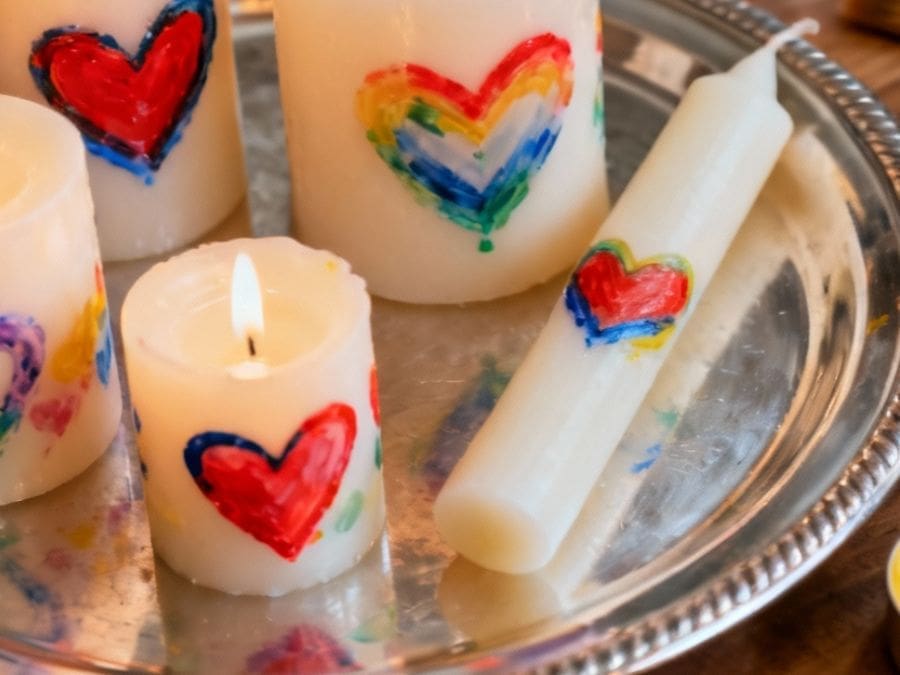
You can use slim taper candles, or thicker pillar candles that make them easier to handle and gives more space for painting.
Try using stencils if difficult to draw out shapes, but imperfection is what’s lovely about these candles, because that wax tries quickly!
Keep to melting only one or two colours at time as this also help make the wax easier to use.
When We Finished
Display your painted candles somewhere you’ll see them, on a mantelpiece, dining table, or windowsill. They make lovely gifts too. Whether you actually burn them or just enjoy them as colourful decorations is entirely up to you.
The nice thing about this craft is that it leaves you with something bright and cheerful that you made with your own hands. And if you enjoyed it, you’ve got those tealights ready to go for next time.
Simple Spring Outdoor Activities for Dementia: When the Weather Finally Turns
Could a gut biopsy really predict dementia years in advance?
The Headlines Said Alzheimer’s Drugs Don’t Work. Here’s What You Actually Need to Know.
Tearing Paper, Making Memories: Five Magazine Art Collage Ideas for Dementia Activities
Watercolour Painting for Dementia: Simple, Adaptable Ideas That Work
So Apparently Optimism Lowers Dementia Risk
How to Prepare for That First Dementia Doctor’s Appointment
A New Tool Is Trying to Fix Dementia Discharge From Mental Health Hospitals
Clocks Going Forward with Dementia: What to Do to Help
What Is a Travel Memory Map? (And Why Every Dementia Caregiver Should Make One)
Broke and Burned Out: The Financial Cost of Caregiving
Why Dementia Care Still Leaves Families Unprepared?
Easter Activities for Seniors That Aren’t Crafts (Fun Ideas Beyond Painting Eggs)
4 Simple Bubble Art Methods for Seniors Living with Dementia
10 Easy Bubble Art Ideas for Seniors and Those Living With Dementia
Memory Matters Weekly #25
Forget Flowers & Chocolates: Mother’s Day Activities for Seniors with Dementia
Simple Easter Sensory Activities for Late Stage Dementia
Nobody Talks About The Loneliness of Grief