Here’s a simple idea to make a personalised dementia fidget blanket from a cushion instead of buying more stuff you don’t need. Help your loved one with dementia and the planet at the same time by using recycled materials to make a sustainable fidget blanket from a cushion!
You can use any old bits of fabric you have lying around the house. You might have heard of dementia fidget blankets or quilts, sometimes referred to as a sensory or comfort blanket. They were recommended to me to use as part of a strategy to help keep mum engaged during the day and avoid dementia sundowning issues. You can read more in my post Is It Helpful To Talk To An Admiral Nurse?
This post will show you how to save money and make a sustainable fidget blanket from a cushion.
Fidget blankets are used to reduce anxiety for people with dementia. If your loved one with dementia is anything like mum, then you will see them fidgeting with whatever is to hand, in mum’s case it’s tissues.
How to repurpose a cushion and make a Dementia Fidget blanket?
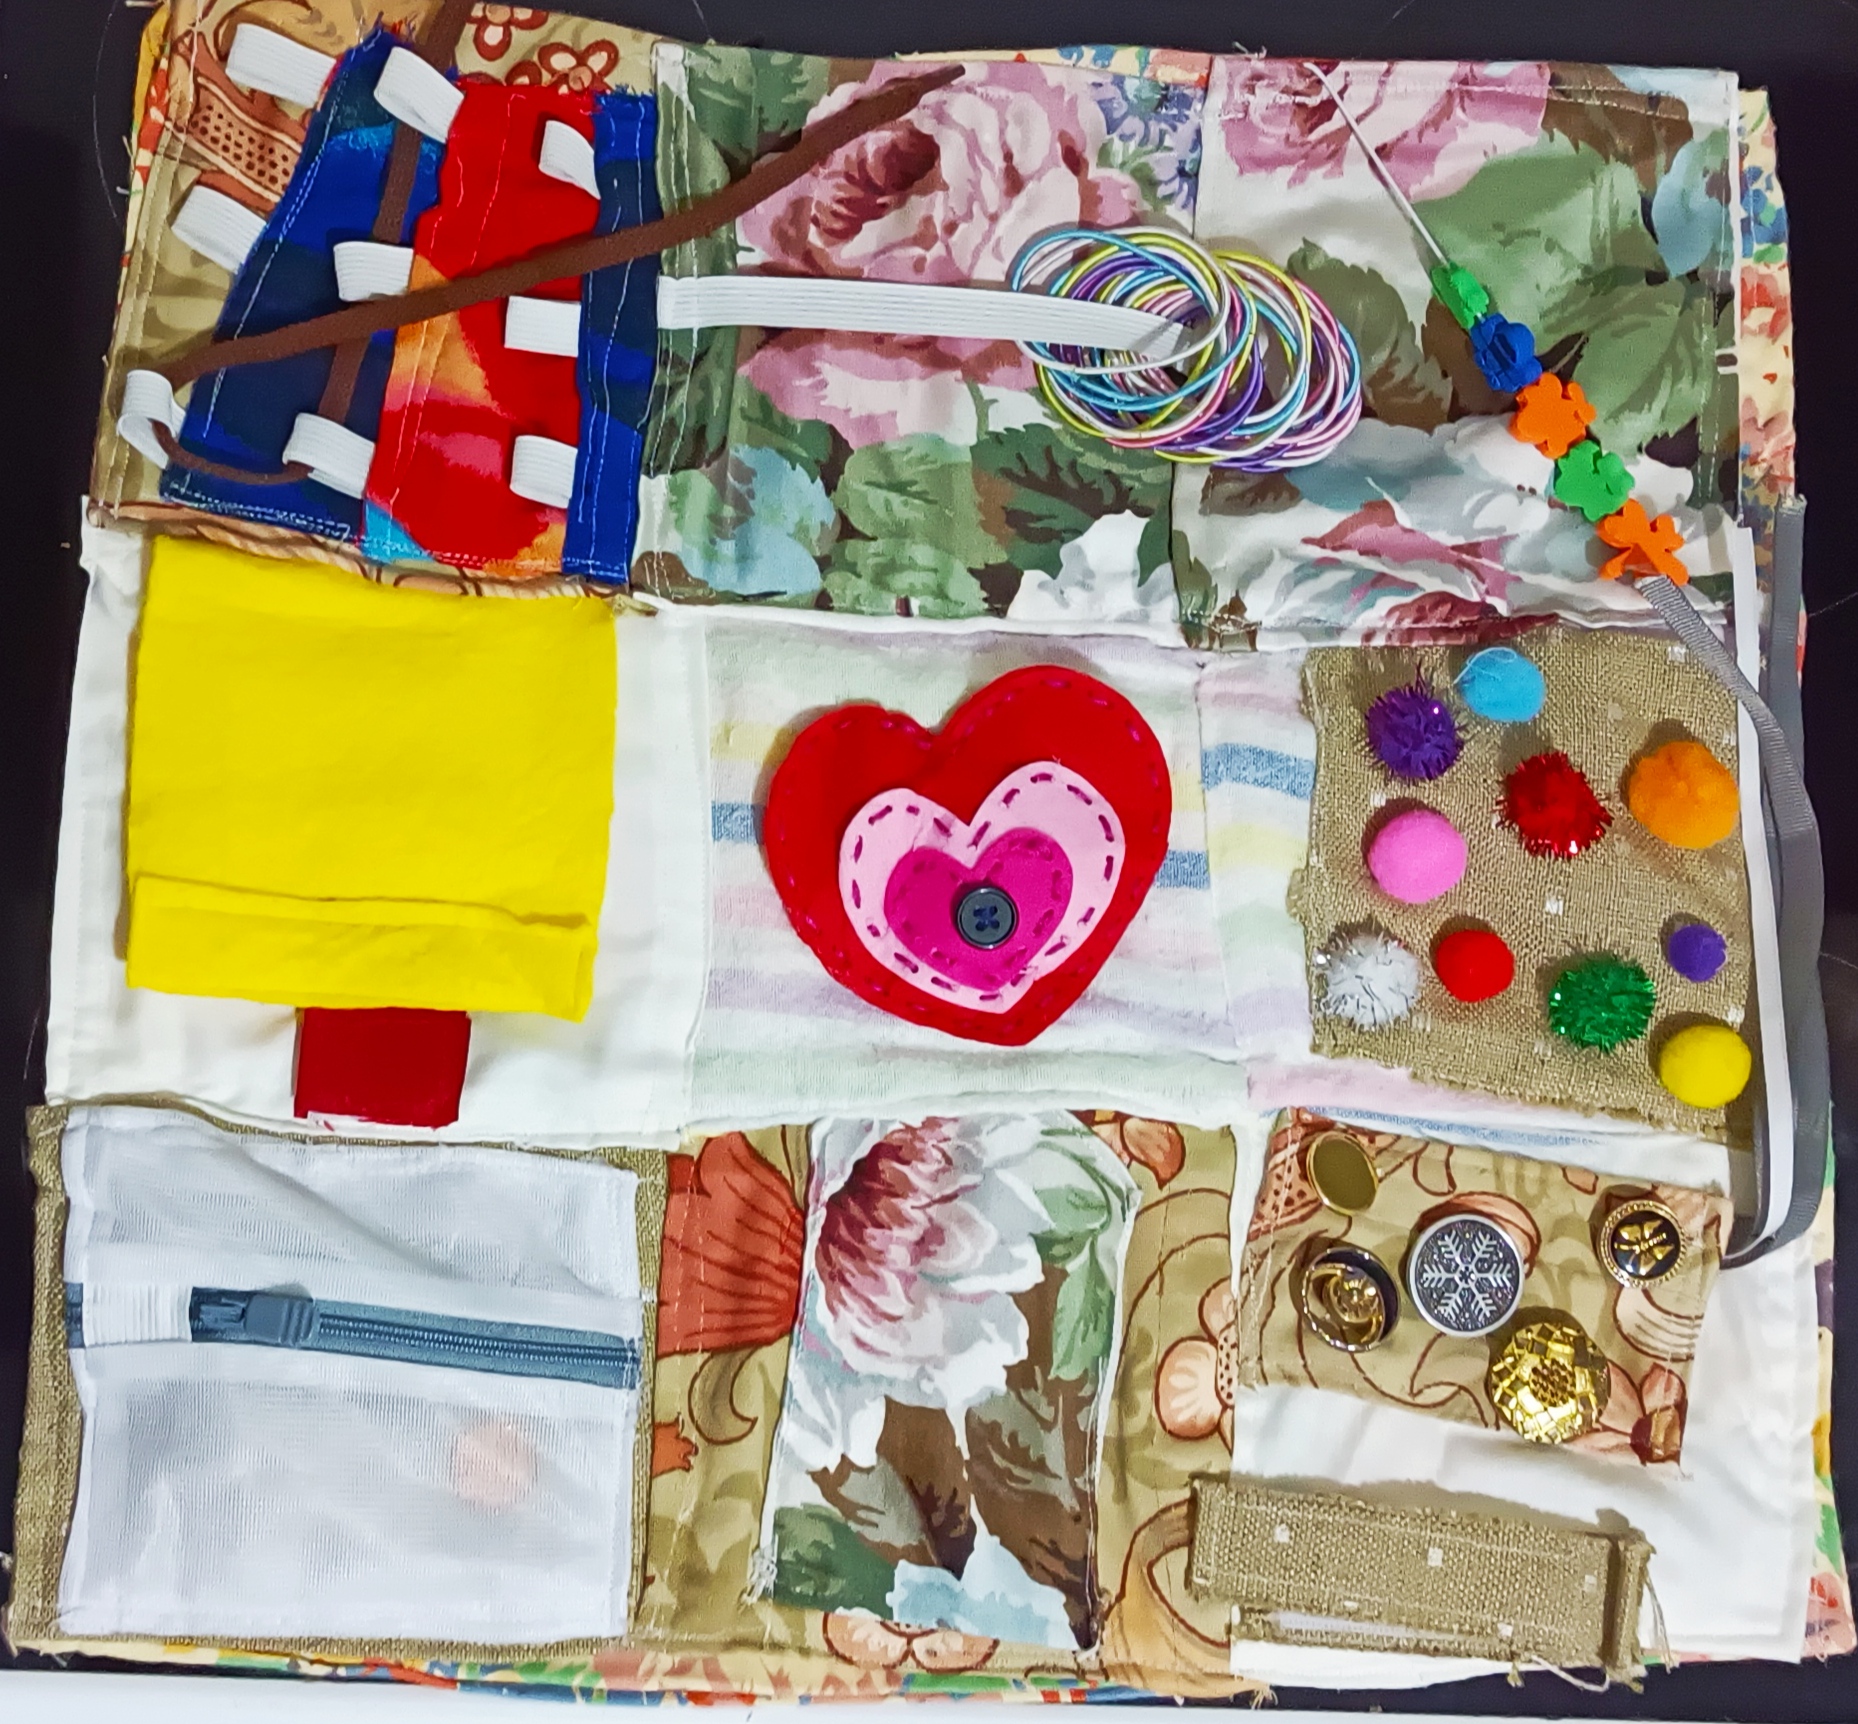
Total Time: 2 days
-
Supplies
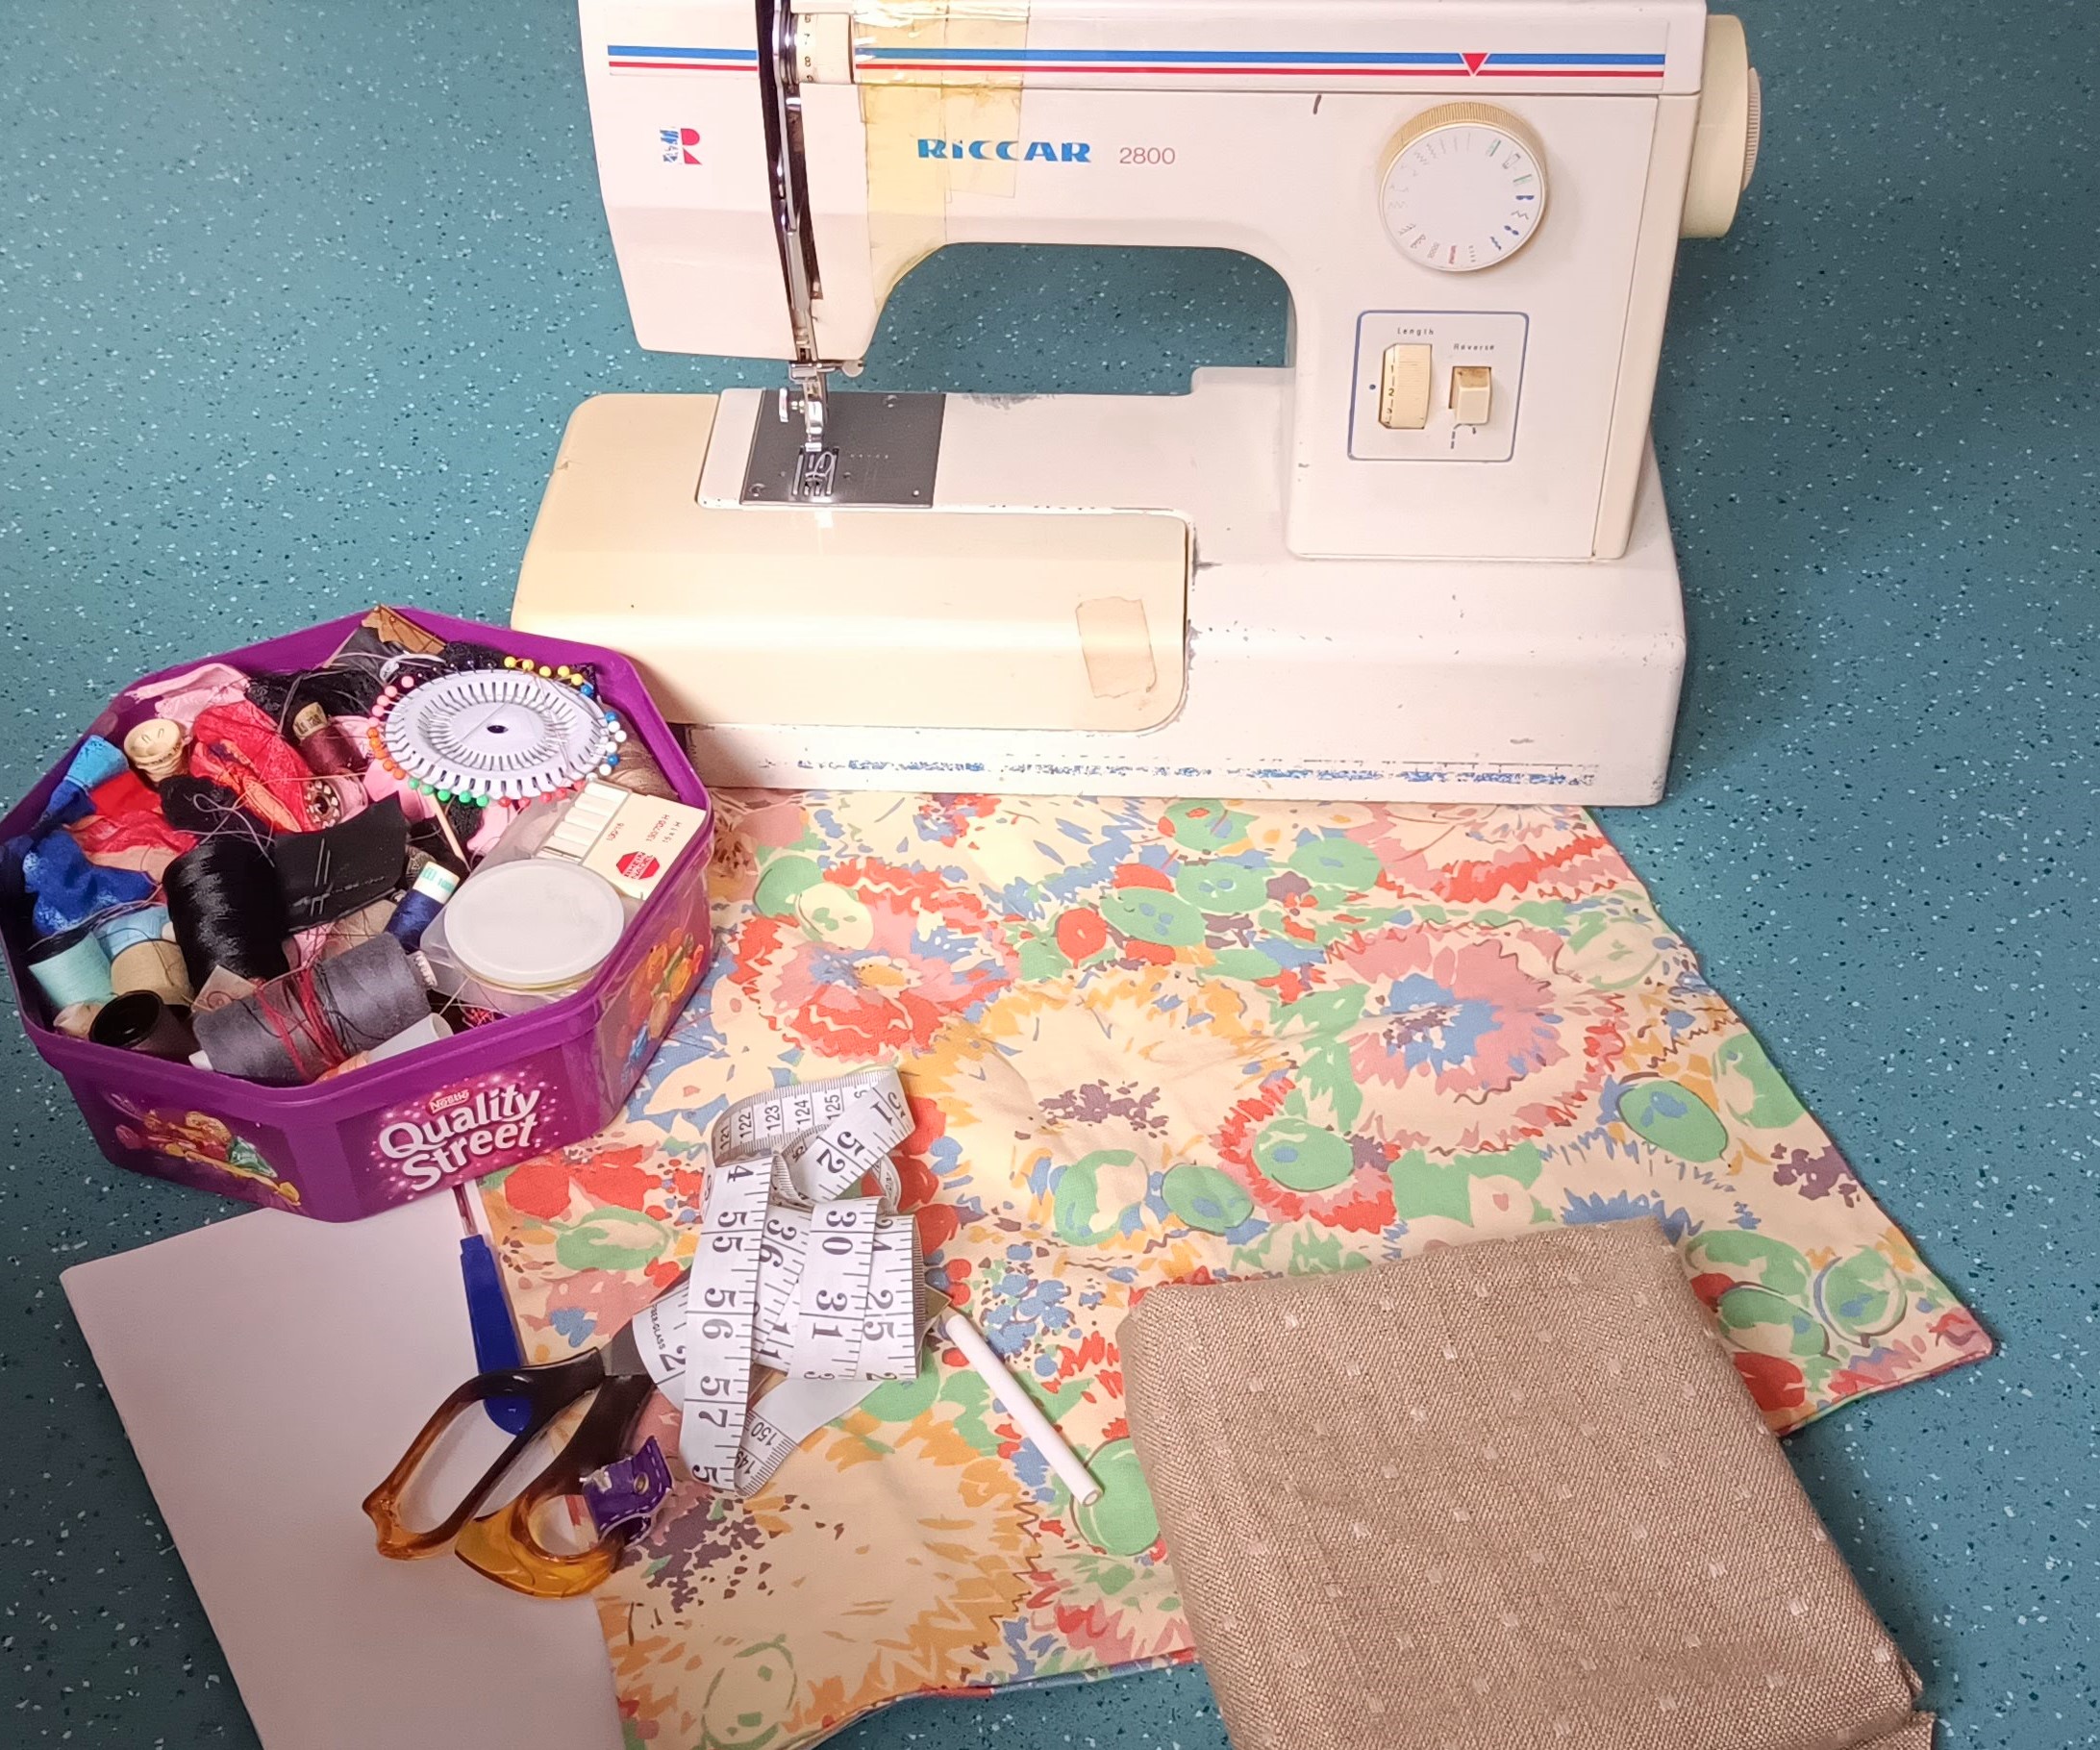
– Cushion Cover
– Material scraps
– Interfacing or backing fabric to give it strength (I just used an old heavy blanket)
– Sewing Machine (however old!) or needles for hand sewing & matching threads
– Stitch unpicker
– Scissors, pins, piece of card, & pen & measuring tape
– Various sensory objects- buttons, elastic bands, foam balls, keyrings, plastic clasps, bows, soft toys, beads, velcro, ribbons, felt, etc.(Note: whatever you use, remember that you have to live with it so be wary of things that makes any kind of irritating noise!)
-
Cushion Cover Prep
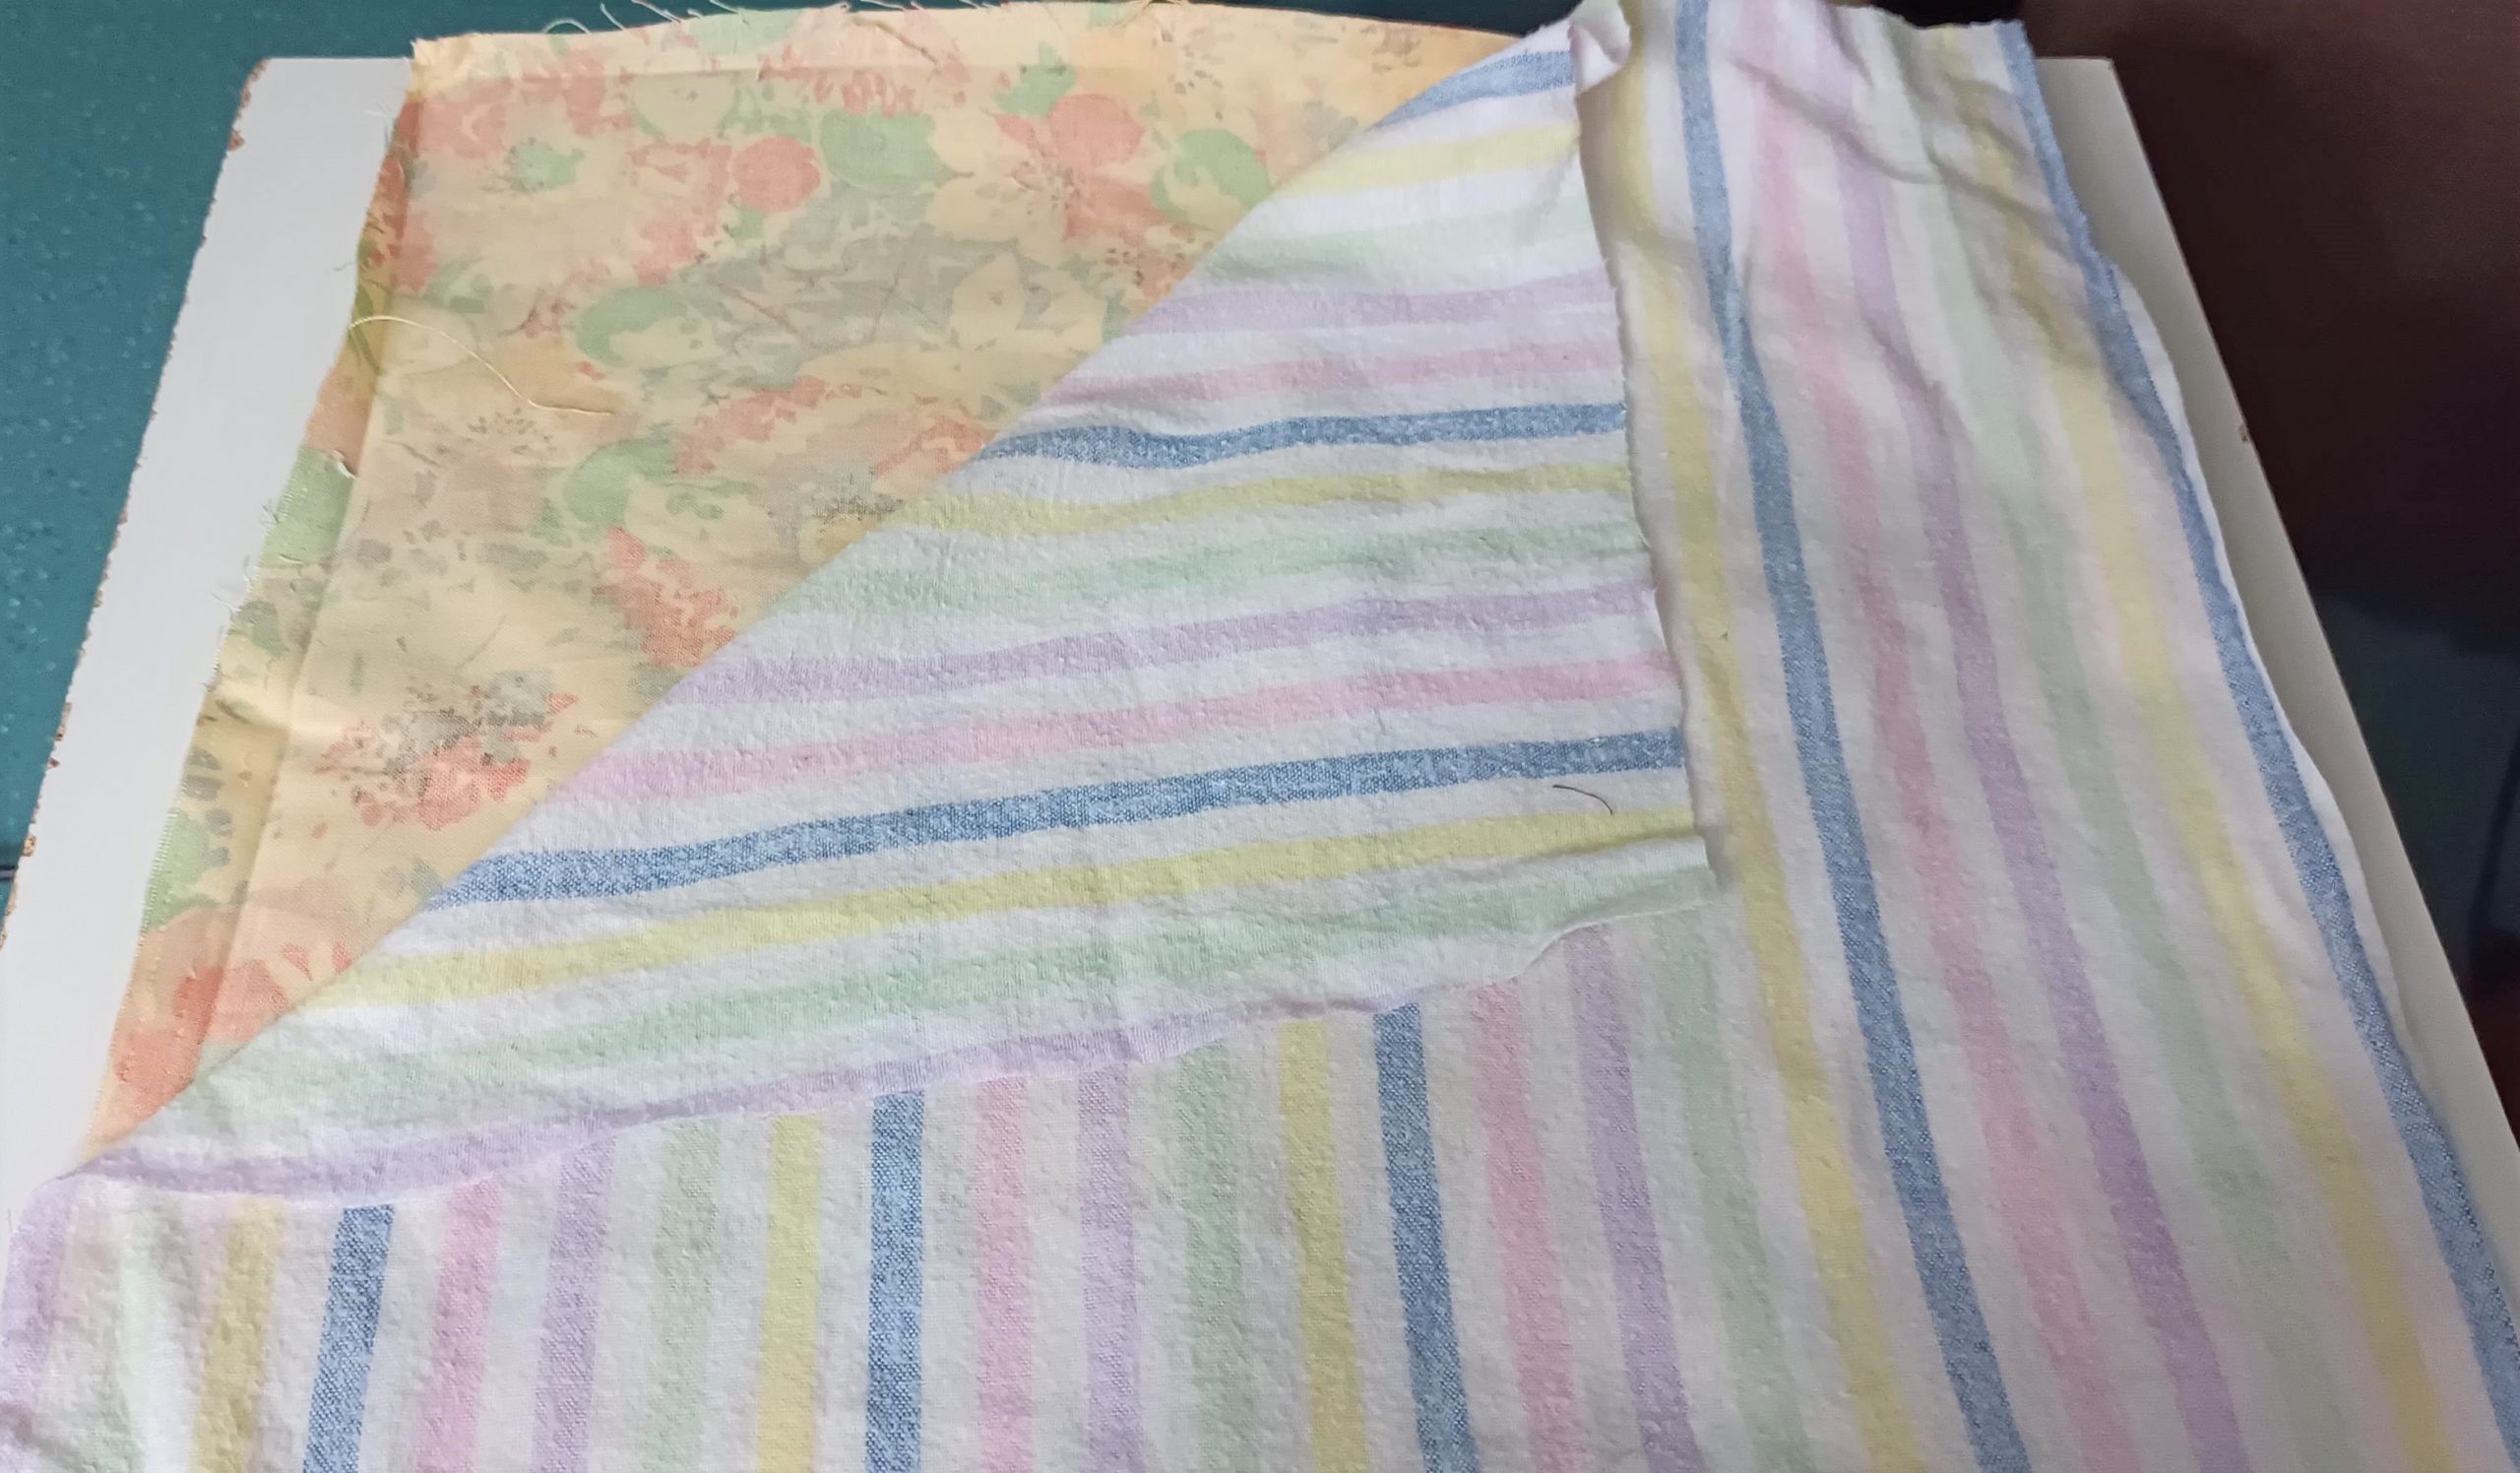
-Measure your cushion cover, most cushions are square in size and that will make it easier for us to determine the number of squares of activity to create
-Measure and cut out your interfacing or fabric being used to strengthen the back of the fidget blanket.
-Reverse the cushion cover (inside out) and using the stitch, unpick 3 sides of it (not the side with the zipper)
-Using your sewing machine or by hand, place the interface fabric onto one side of the cushion cover sew them together (be careful to only sew the interface to one side of the cushion (that’s why we unpick 3 sides to make it easier to sew on!)
-Reverse the cushion cover (right side up) and using the sewing machine sew up all 3 sides of it if you are making a fidget blanket (Note: if you still want to use it as a Fidget cushion, then don’t sew the cushion closed here, do that as your last step once all the fidget squares have been attached.
-
Fidget Squares Prep

-Use a piece of card to determine the size of the squares for a 9 square pattern. So my 16 ins x 16 ins the cushion, dividing by 3 (16/3) would give me 5.3 ins x 5.3 ins. Round up to include seam allowance and cut out 6 x6 in squares. The extra seam allowance will make it look neater when joining together.
-Find any material you may have in your house, what about that old blouse with a stain, or jeans with holes, any scraps of fabric anything that you’ll not use again and can be recycled into making the fidget blanket.
-Cut out a template from the card for the size you measured and use this to cut out the right size squares from your fabric.
-Create each square and hem on each side by pinning and folding the edges of the fabric of each square and sewing.
-This will give each square a neater appearance.
-
Add Fidget Embellishment
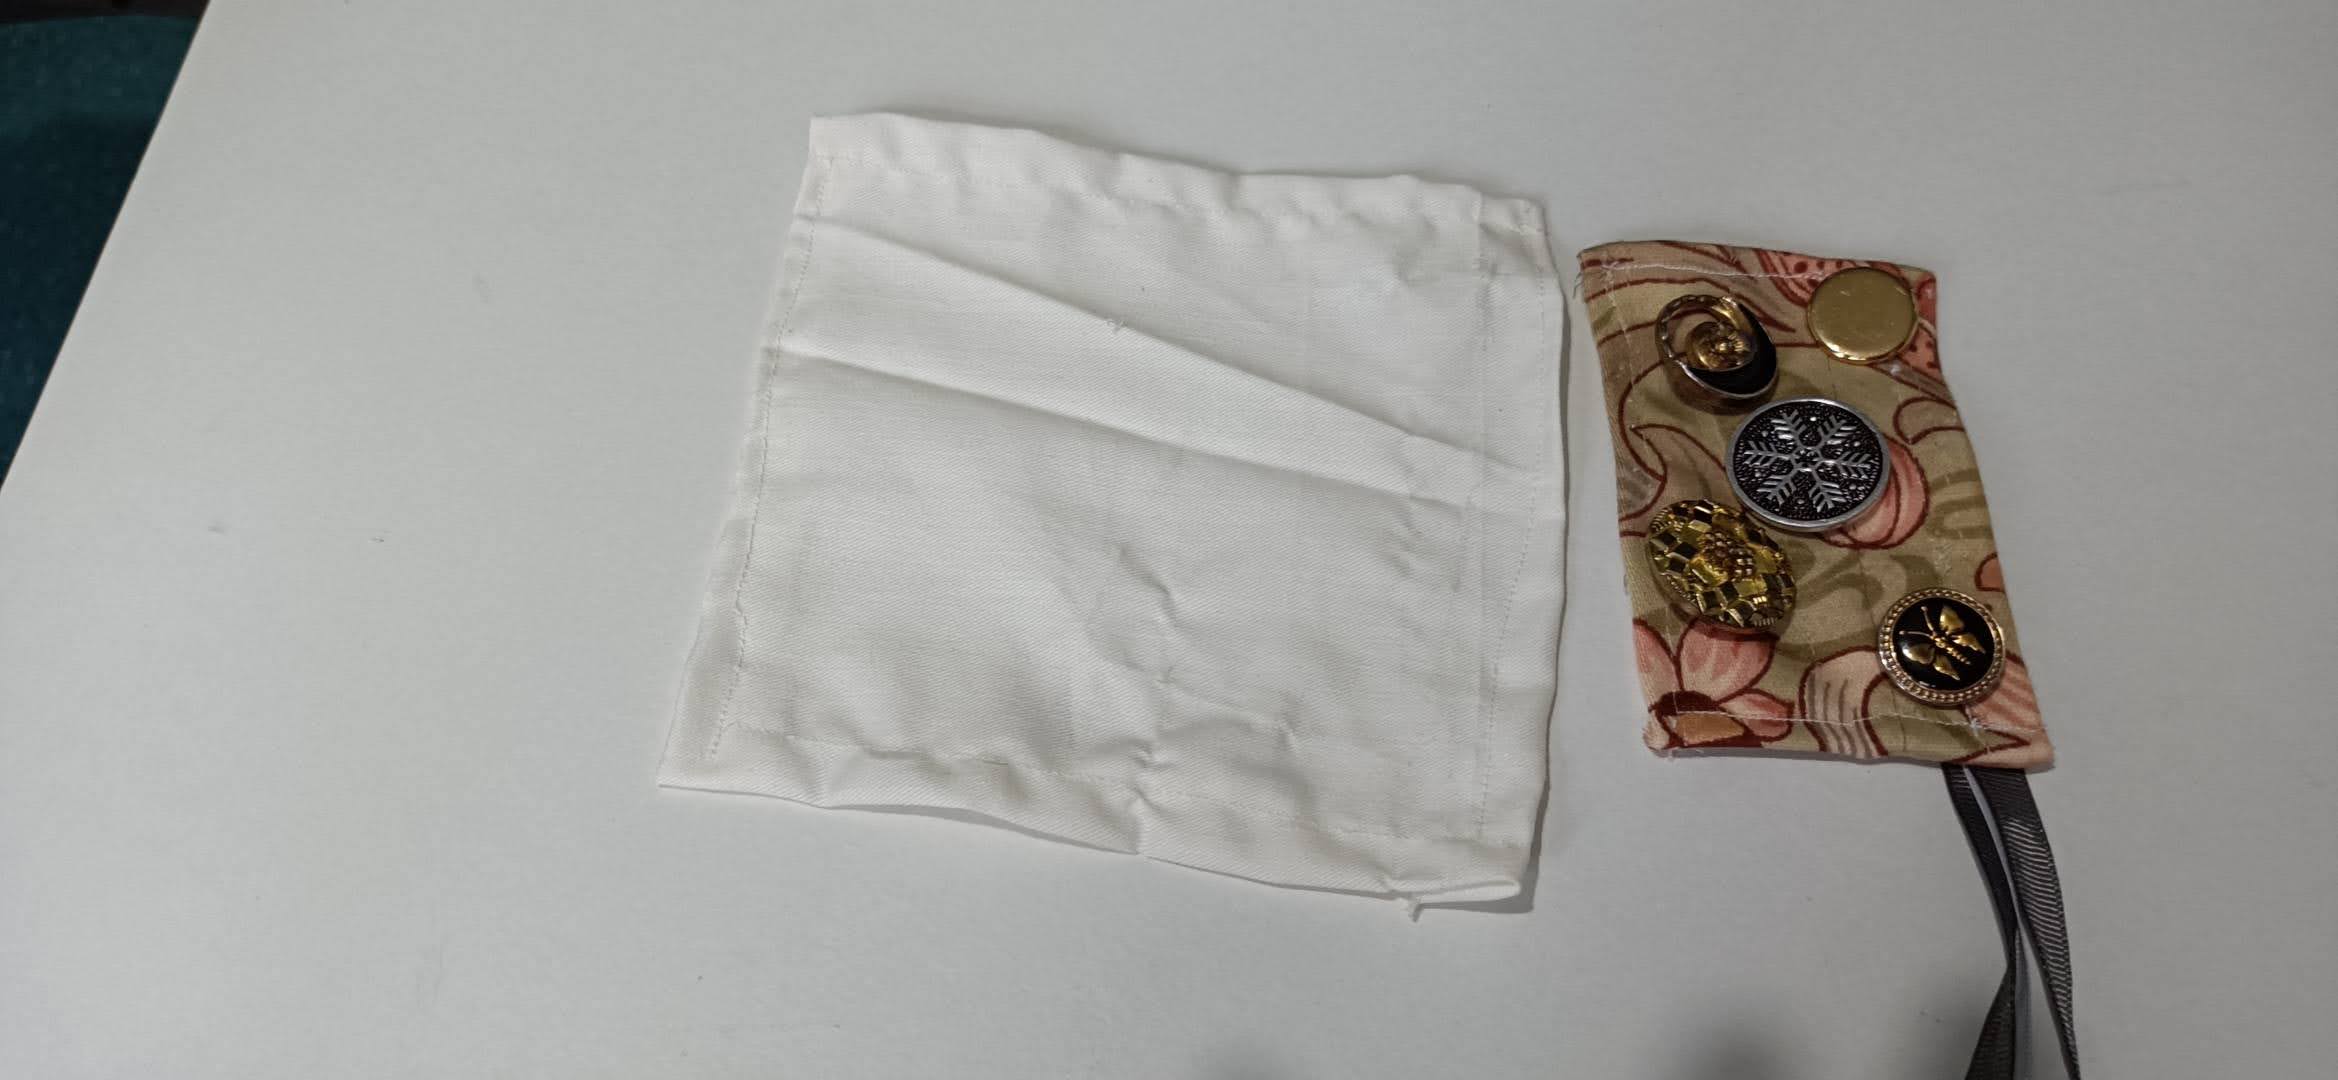
-This is where you can use your imagination to sew and create patches that will interest your loved one with dementia. You can also involve your loved one if they like and are able to sew like my mum or help in other ways.
-You can use zips, ties, clips, sew on applique, hairbands, waistbands, velcro, create pockets, add buttons whatever inspires you or take a look at examples of dementia fidget blankets that you can buy on the internet.
-Add the Fidget embellishments of your choice. For example, here I created a smaller rectangle from a contrasting fabric and added buttons (sewn by mum) and some ribbon ties and then sewed that onto the fabric square.
-Do that for all nine pieces.
-
Placements
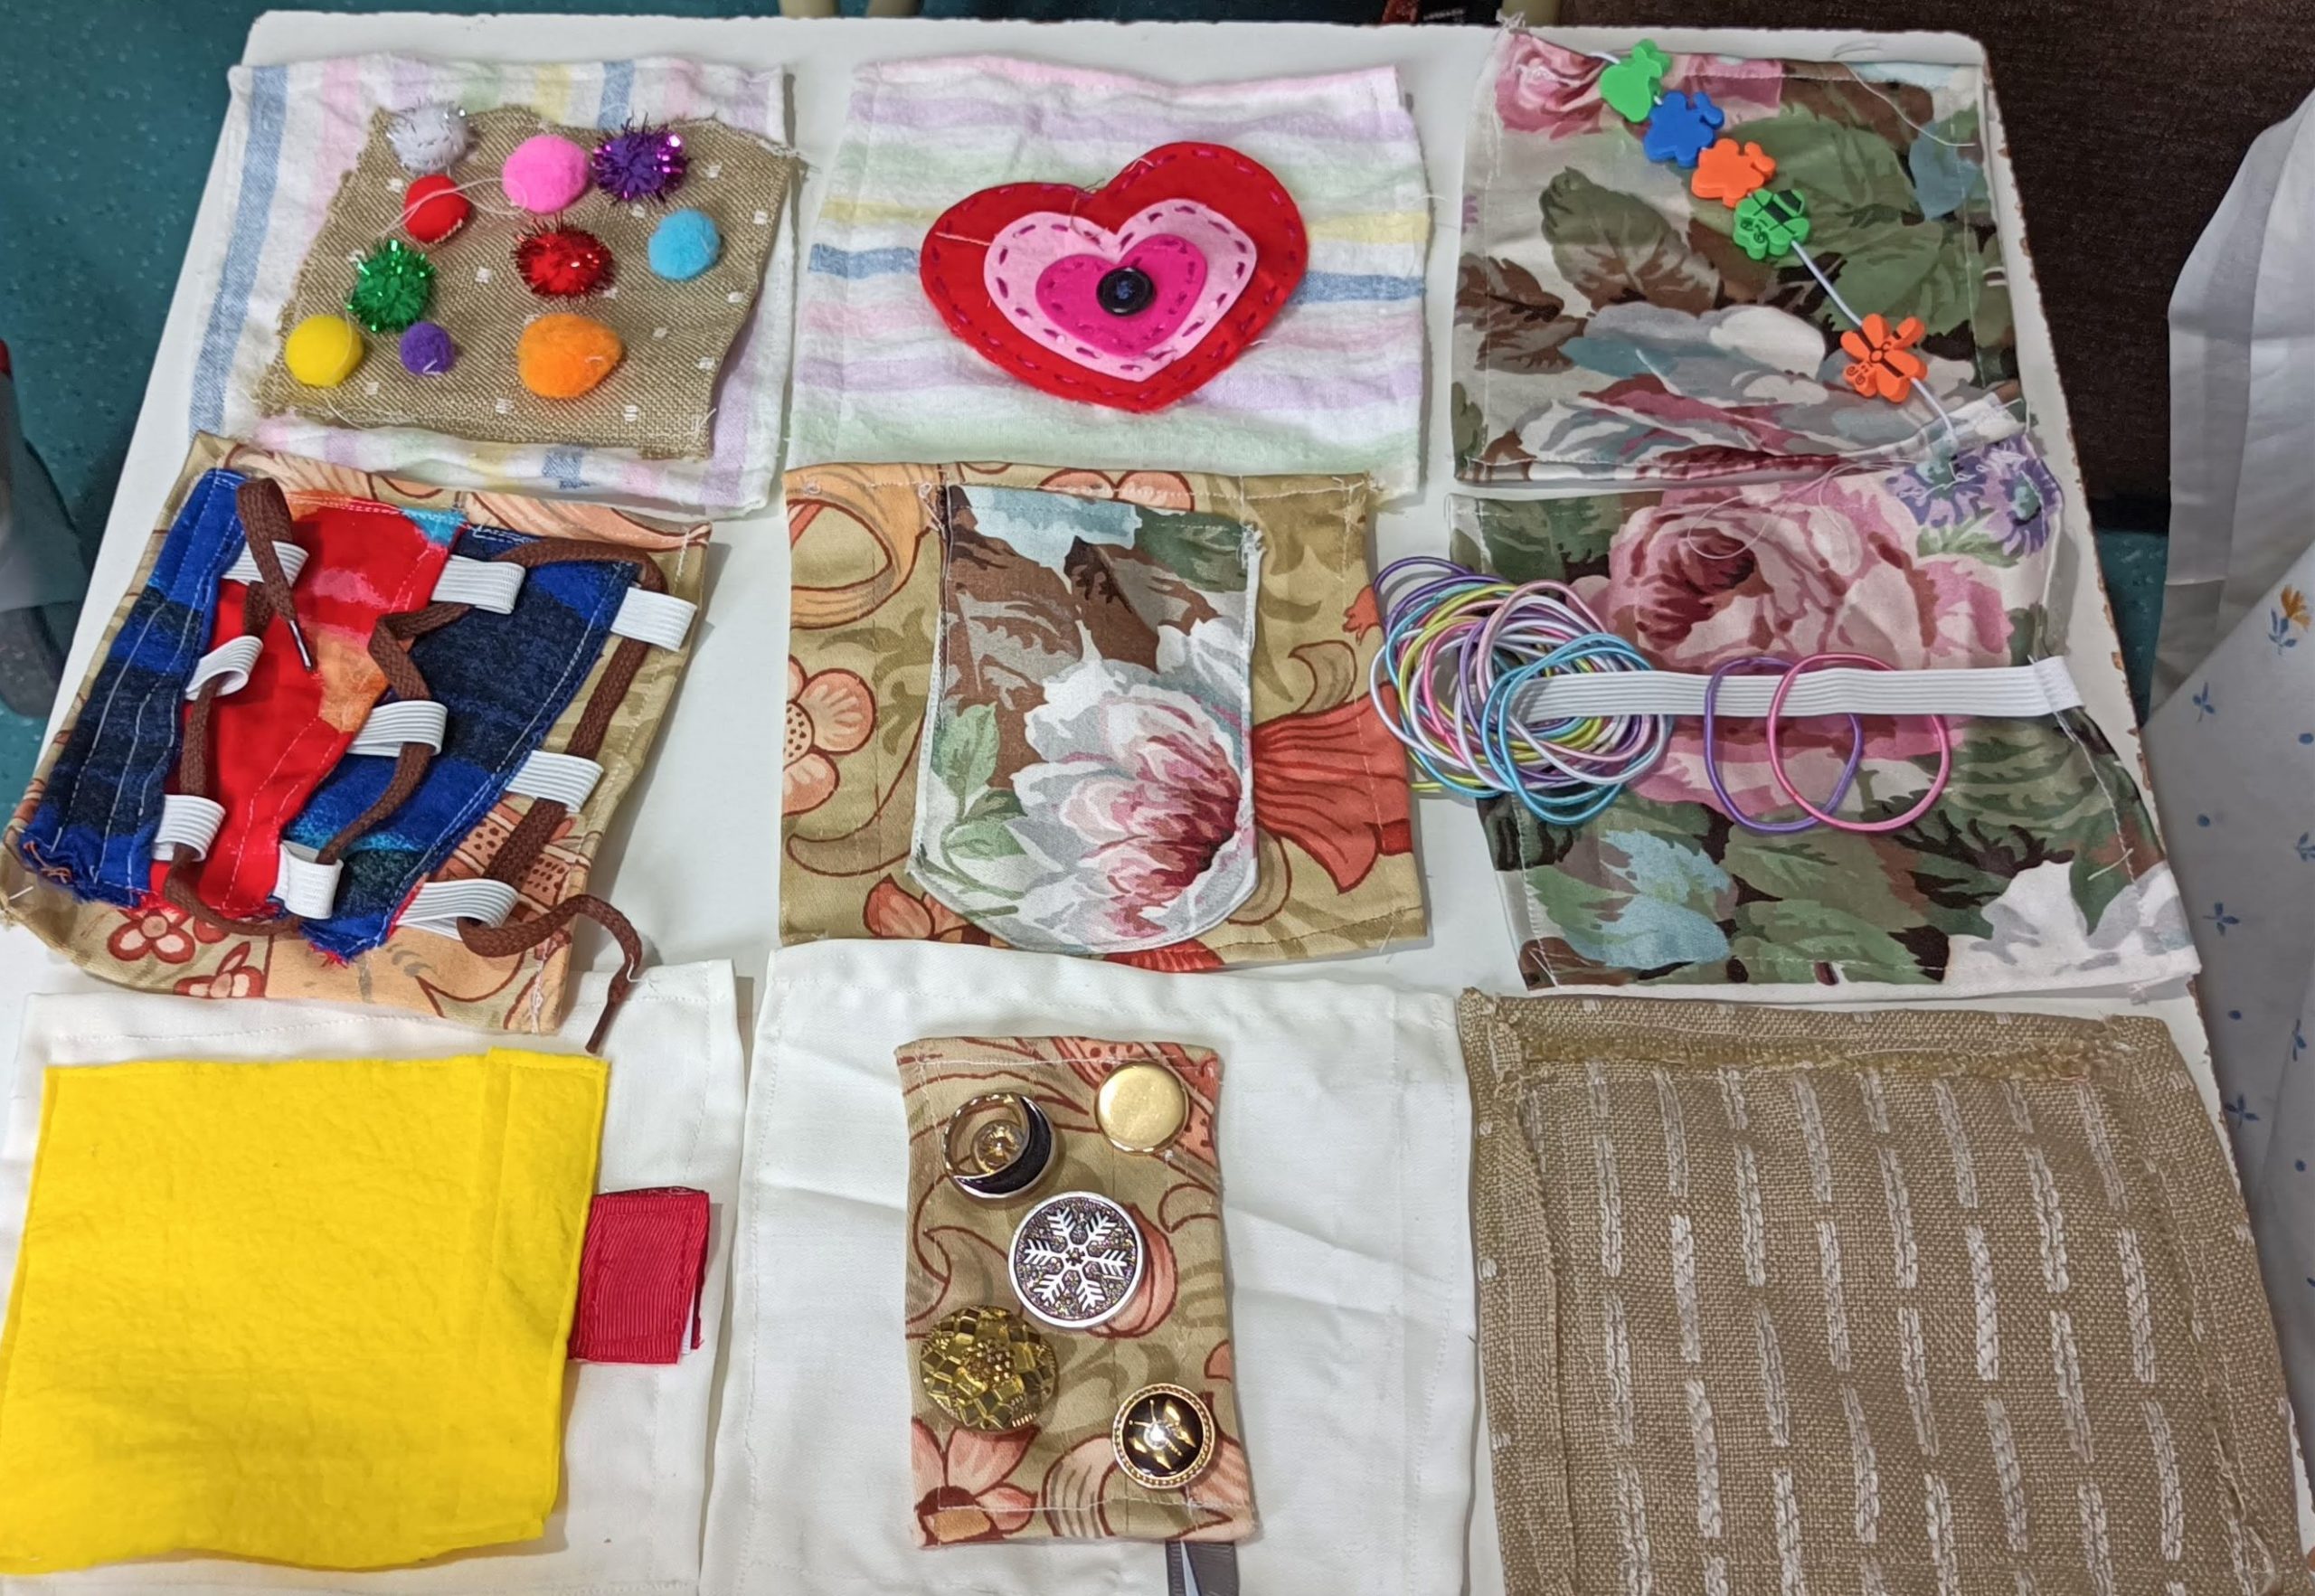
-Once you’ve created all of your squares, it’s time to decide on order placement. You can decide on the layout of all your pieces by laying them out until you feel they’re optimally placed for maximum enjoyment!
-
Sew Fidgets Squares onto the Cushion
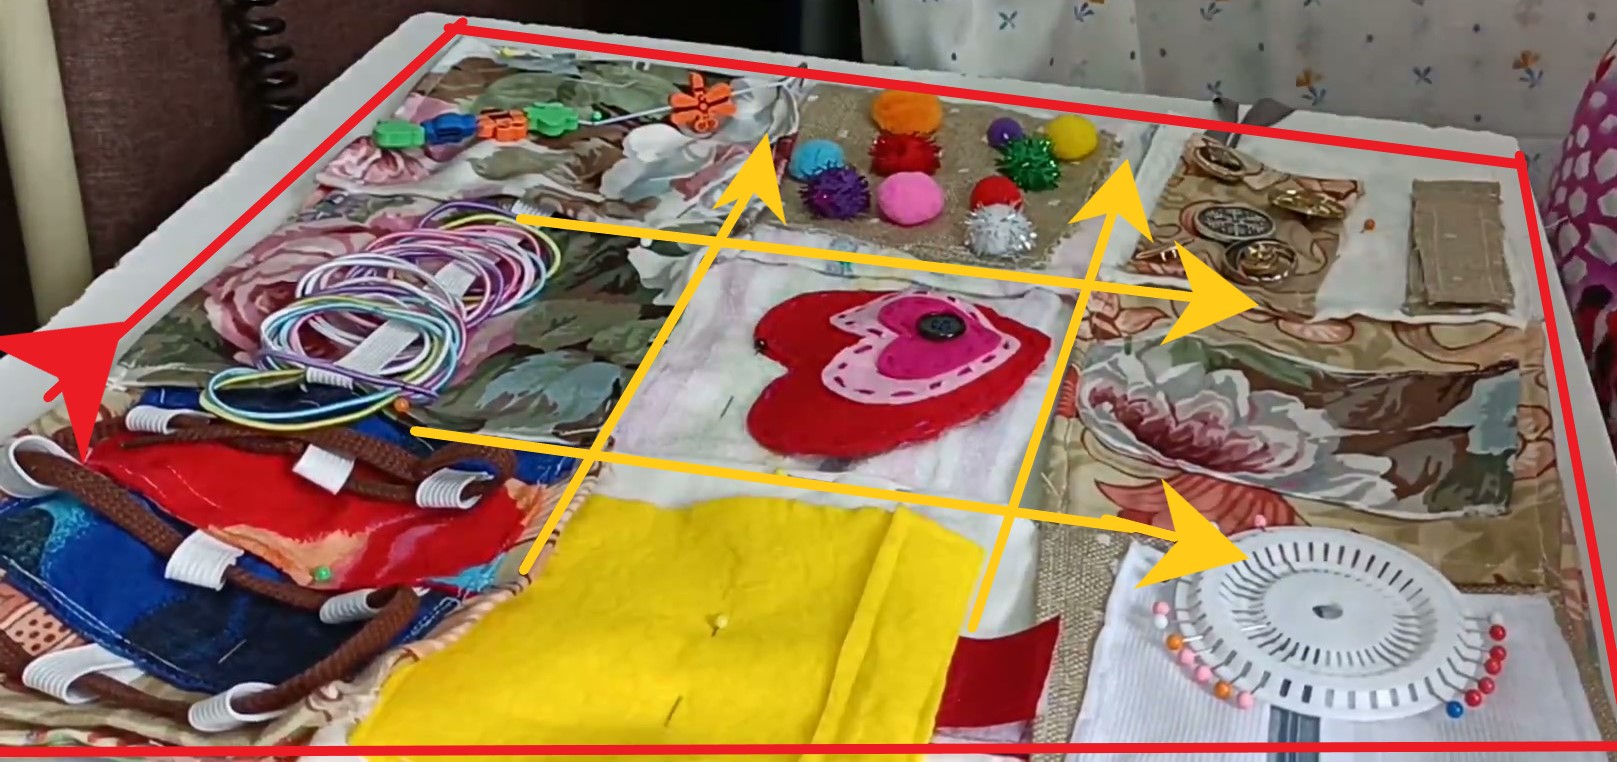
-Place the squares onto the cushion cover. I arranged each row and then sewed directly onto the cushion cover by sewing around the cushion edges and then horizontally and vertically down & across the middle in thirds to secure the squares to the cushion cover.
-(Note: If you want to make a fidget Cushion rather than a blanket, then in Step 2, instead of sewing up all the sides of the cushion, keep the 3 sides open. Instead, open up the cushion cover sew the patches directly onto one side (right side up) attach it to the interface fabric and once complete sew up all sides of the cushion. You can then use it as a dementia fidget cushion vs a dementia fidget blanket.
That’s it you made it and repurposed your cushion into a dementia fidget blanket and sensory tool. I hope your loved one enjoys it as much as mine does.




Pingback: Free Fidget Quilt Ideas To Discover The Joy Of Sensory Items ⋆ Hello Sewing